Gaming PC Chair Setup for Ergonomic Laptop Posture
By Jamal Okoye • 1st Sep
What to do
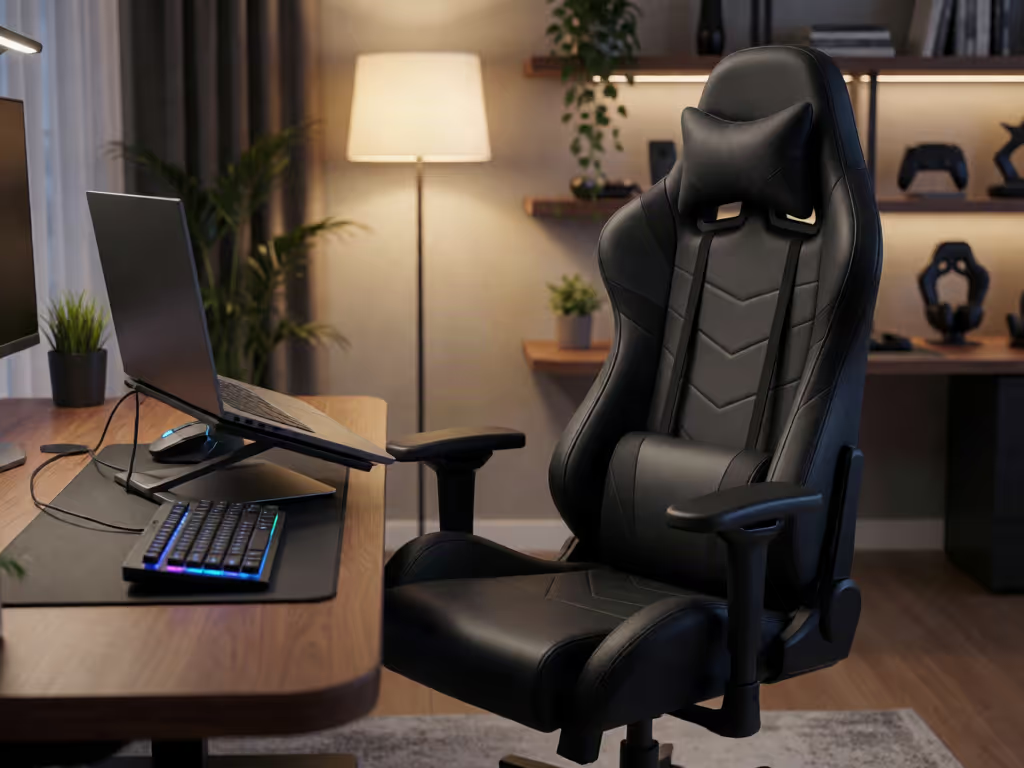
Set the chair so your feet are supported and knees level with your hips, then align the laptop display directly ahead at a readable height and distance. For longer sessions, raise the laptop and separate the screen from the keyboard and trackpad with external inputs.
- Start with: Sit centered and supported, with both feet flat, knees level with hips, and your back supported.
- Then: Keep the screen’s top at or slightly below eye level, place the keyboard and mouse within easy reach, and keep wrists straight while typing.
- Important prerequisite: Kinesis reports that when a laptop display sits below seated eye height—including on a couch—people may slump forward and bend their heads down. Change position, take eye and movement breaks, and see a GP if RSI symptoms are not going away or are getting worse.
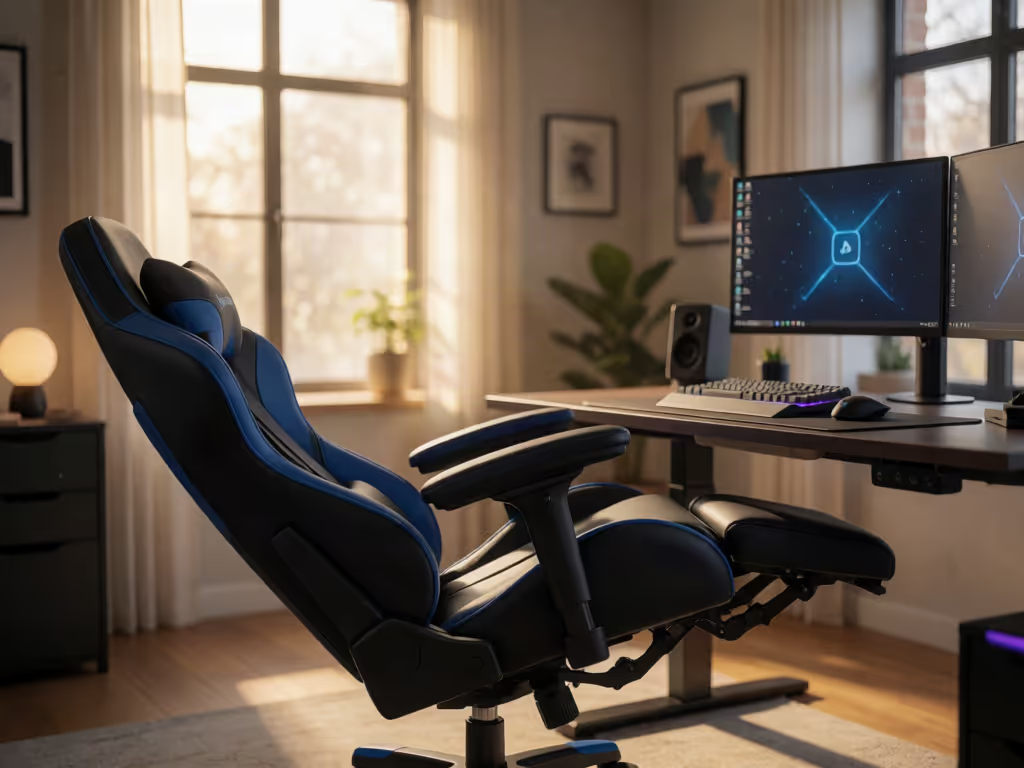
A gaming PC chair is only one part of ergonomic laptop posture. If you have ever finished a match with a stiff neck, creeping shoulder tension, or legs that feel ready to log off before you do, start with the relationship between your body, screen, and inputs, not a rigid "perfect posture" pose. Start with your measurements; let specs narrow the field. Then use the chair and desk adjustments you actually have to build a setup you can repeat.
Fit beats flair. Your seated body landmarks (feet, knees, hips, wrists, eyes, and the centerline of your torso) are more useful than a chair's racing silhouette. I learned that after spending far too long treating cushions like raid-night band-aids instead of noticing where my legs and shoulders were meeting the chair.
Step 1: Set the chair from the floor upward
Begin before opening the laptop. Sit fully back in the chair with your body centered at the desk, rather than perched on the front edge.
Adjust chair height until:
- Both feet rest flat on the floor.
- Your knees are level with your hips.
- Your back can remain supported while you face the workstation.
Those are the useful anchors. The available guidance supports setting chair height for flat feet and knees level with hips, along with keeping wrists straight while typing. Your goal is simpler: supported feet, knees level with hips, and a position that lets you use the computer without forcing your wrists or head into awkward positions. For the underlying principles behind spinal alignment and chair ergonomics, use this setup as a practical starting point rather than a rigid posture prescription.
If raising the chair helps the desk feel more usable but leaves your feet unsupported, do not ignore the feet just to gain height. Re-check the whole arrangement. Chair height, display height, and keyboard position work as a system.
A chair setting is useful when it supports your body and lets the screen and inputs stay in sensible positions.
Step 2: Put the laptop display in your forward line of sight
A laptop can encourage an unhelpful compromise because its screen is physically attached to its keyboard and trackpad. You cannot freely move one without moving the other. That is why laptop posture deserves a different approach from a desktop monitor setup.
Place the display directly in front of you so your head, neck, and torso can face forward. If neck discomfort persists, the additional guidance in this neck pain ergonomics guide can help you fine-tune headrest and monitor positioning. For screen height, use these starting points:
- Put the top line of the screen at or slightly below eye level.
- Aim for the screen center to sit roughly 15 to 20 degrees below horizontal eye level.
- Keep the screen at a readable distance while staying upright with your back supported. A general range is 20 to 40 inches from your eyes to the front of the screen; about 25 inches, or approximately arm's length, is another practical reference point.
Do not chase a number if it makes text difficult to read or makes you lean. The correct range is the one that allows a forward-facing, upright viewing posture with readable on-screen information.
Step 3: Separate the screen from the inputs for longer sessions
For a quick email or short queue, you may choose to use the laptop as-is. But for extended gaming or hybrid work sessions, the connected laptop design makes the screen-and-input trade-off hard to escape.
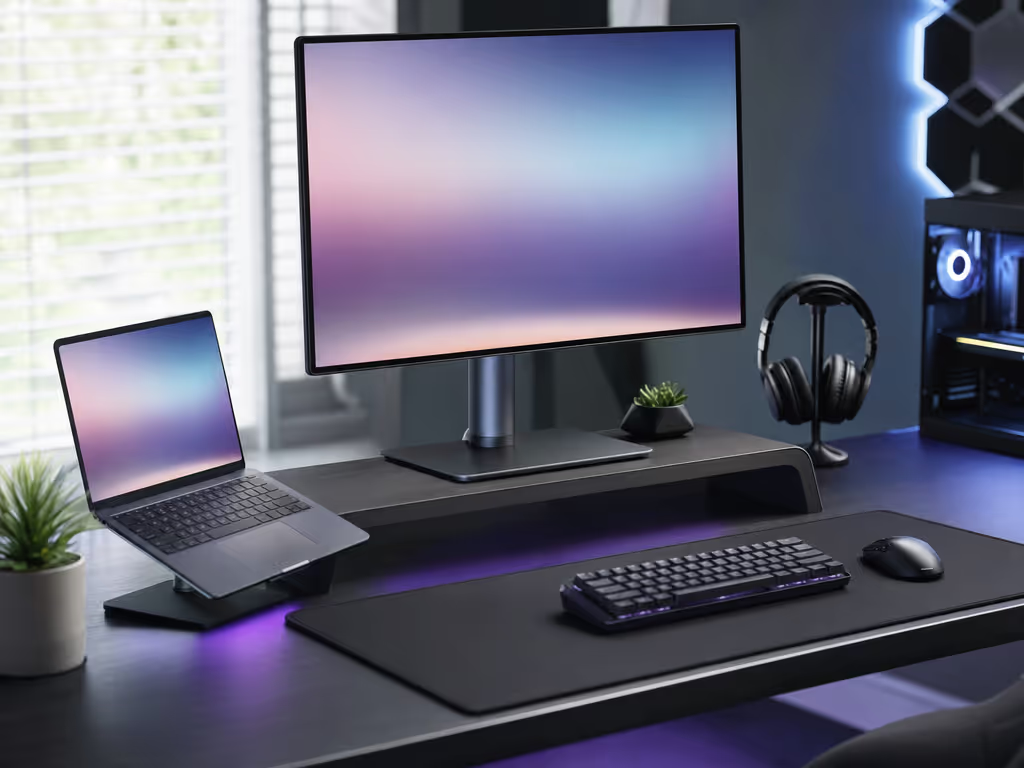
Kinesis, a keyboard manufacturer, reports ergonomist advice to separate the monitor from the keyboard and trackpad: elevate the laptop display, then use an external keyboard and mouse. Treat that as a practical configuration option, not a requirement or a guarantee of comfort.
Here is the order to test it:
- Raise the laptop display until its top line is at or slightly below eye level.
- Center it in front of you at a readable viewing distance.
- Place the external keyboard and mouse close enough to reach easily.
- Type with straight wrists. If your wrists bend up, down, or to either side, revisit the chair and keyboard arrangement.
For mouse-heavy games, the reach check matters. A mouse positioned too far away can make you hold the arm away from your body, continually loading the shoulder and neck muscles. Clear enough desk space that your keyboard and pointing device can live in your easy-reach zone rather than at the far edge of the desk.
This is the heart of portable PC gaming ergonomics: do not ask a single compact device to solve every position perfectly. Give the display and inputs room to serve their separate jobs when your session will be long.
Step 4: Run a five-minute setup check before you launch
A good setup should hold together once the game starts. Before you queue, load into the flight deck, or begin a work block, run this quick audit.
Lower body
- Are both feet flat and supported?
- Are your knees level with your hips?
- Can you sit back with your back supported instead of inching toward the desk?
Display
- Is the screen directly ahead rather than off to one side?
- Is the screen's top line at or a little below eye level?
- Can you read without leaning your head and torso forward?
Inputs
- Are the keyboard and pointing device easy to reach?
- Are your wrists straight while typing?
- Does the mouse stay close enough that you are not repeatedly reaching away from your body?
If one answer is "no," change one variable at a time. Move the display, then reassess. Adjust chair height, then reassess. Shift the keyboard or mouse closer, then reassess. This prevents the familiar loop of changing everything, losing track of the cause, and assuming the chair itself is the problem.
Step 5: Handle the couch laptop gaming setup honestly
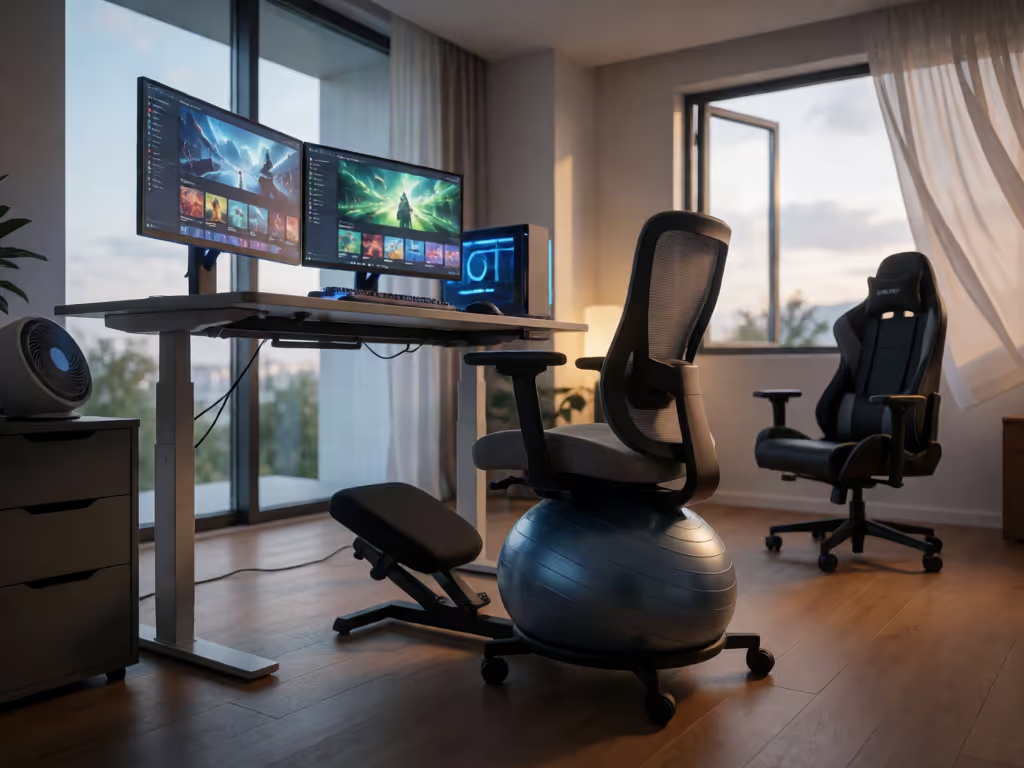
A couch laptop gaming setup can be appealing when space is tight or you want a more relaxed session. If you are considering alternatives to a traditional chair, compare the support and mobility trade-offs in this guide to bean bags versus gaming chairs. Kinesis identifies one specific concern: when the display sits below seated eye height, people may slump forward and bend their heads down; it says this can occur at a desk, couch, or kitchen table.
The guidance discussed here does not provide a detailed setup for laptop gaming on a lap, coffee table, or floor. So avoid pretending there is a magic couch position that can be prescribed from afar.
On a couch, focus on the specific concern the available guidance establishes: whether the display is below seated eye height and leading you to slump forward or bend your head down. It does not establish a complete protocol for body support or input placement in every couch arrangement.
For a longer session, you can instead use the desk arrangement in Step 3, elevating the display and using an external keyboard and mouse. That is not a judgment on couch gaming; it is a way to separate the screen from the inputs when you want that configuration.
Step 6: Build movement and eye rests into the session
Even a well-arranged gaming chair and laptop workstation should not lock you into one frozen pose. Change position during your session and include stretches or other physical activity across the day.
Give your eyes a reset too. Periodically look at something farther away, look away from the screen, and blink at regular intervals. People tend to blink less during computer and digital-screen use, so this small habit is worth making part of your between-round routine.
Repeated use and poor posture can be associated with repetitive strain injury. If RSI symptoms are not going away or are getting worse, see a GP.
FAQ
What is the best sitting posture for using a laptop?
Use the supported workstation positions in this guide: feet flat, knees level with hips, an upright and centered position, a display directly ahead, reachable inputs, and straight wrists while typing. Change position during longer sessions rather than remaining in one fixed pose.
Is it better to sit lower or higher at a desk?
Neither is automatically better. Set chair height so your feet are flat and your knees are level with your hips, then check that the screen can sit at an appropriate height and that your wrists do not bend up, down, or sideways while typing.
Keep refining the setup, not just the chair
Ergonomic laptop posture comes from the full layout: supported feet, a centered display, a readable viewing distance, and inputs within easy reach. Once you have those foundations, use the setup consistently.
For further exploration, measure your seated height and leg position, photograph your side view at the desk, and identify which adjustment you want to revisit. Those observations turn "this chair feels off" into a clear adjustment shortlist. For a broader step-by-step process covering the chair, monitor, and accessories, see this optimal gaming posture adjustment guide. Fit beats flair, and small, measurable changes can make your gaming space feel far more like it belongs to you.
Related Articles